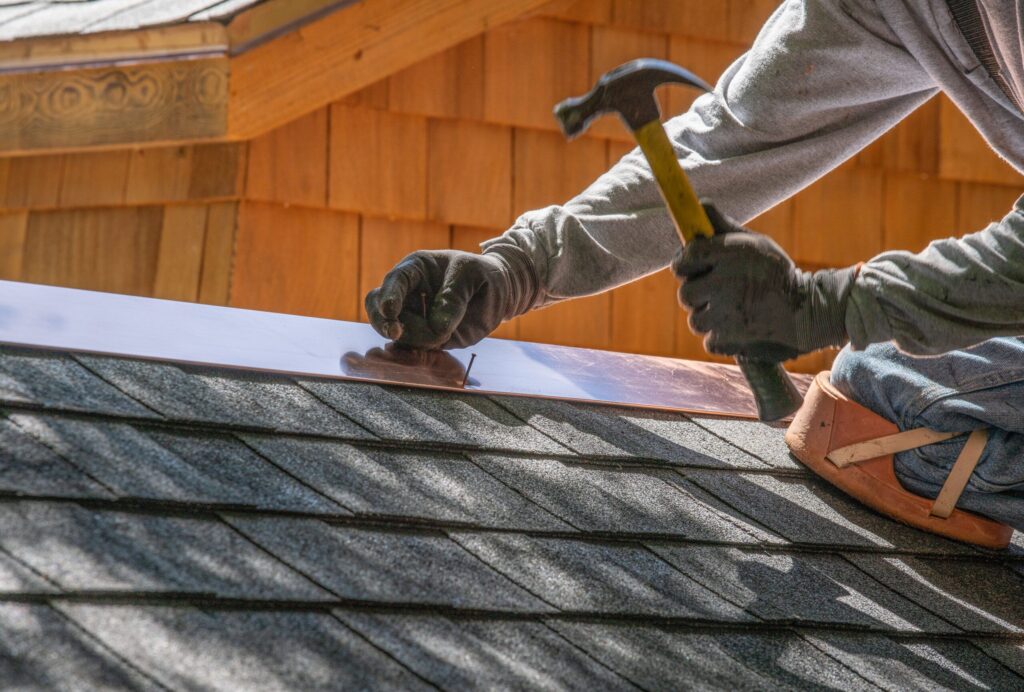
As a roofing professional with many years of experience, I can’t overstate the importance of proper roof flashing installation. Flashing is one of the most critical components of a well-constructed and watertight roof system. But what exactly is flashing, and why does it matter so much? Let me break it down for you.
Roof flashing refers to the thin pieces of waterproof material installed wherever a roof intersects with a vertical surface, such as walls, chimneys, dormers, and vent pipes. The main purpose of flashing is to prevent water from seeping in at these intersections and causing leaks and water damage.
Roof flashing channels water away from seams, joints, and edges, creating a watertight barrier at the most vulnerable areas of a roof. Without proper flashing, water can easily work its way into a home, rotting woodwork, rusting metal components, staining ceilings and walls, and promoting mold growth over time.
Most residential roof flashing is made from aluminum, galvanized steel, copper, or rubber. At Top Builder Roofing, we prefer to use long-lasting aluminum flashing as it does not corrode easily. The type of flashing used depends on factors like the roofing material, roof pitch, and local building codes.
There are several different types of flashing used in various roofing applications:
- Step Flashing: Used where a sloped roof meets a vertical wall, with shorter sections layered up the wall.
- Counter Flashing: Covers step flashing and seals the top against a vertical surface.
- Valley Flashing: Installed in roof valleys where two sloped roof sections join to properly divert water flow.
- Chimney Flashing (for those that have one): A system of base, step, and counter flashings to seal around a chimney.
- Pipe Flashing: Often made of rubber, this flashing seals tight around vent pipes protruding from the roof.
The Installation Process
Proper flashing installation requires precision, attention to detail, and expertise. Here is a basic overview of how a professional roofer like myself at Top Builder Roofing will install roof flashing:
- Prepare surfaces: Any areas where flashing will be installed must be cleaned thoroughly to ensure proper adhesion.
- Install base flashing: The first pieces laid down are the base flashings, secured to the roof with compatible sealants. For step flashing, these pieces go vertically up the wall.
- Interweave with roofing: As each course of shingles or tiles is installed up the roof slope, the step flashing pieces are woven in between layers.
- Add counter flashing: Finally, the counter or cap flashing is secured over the top of the step flashing with compatible caulking, tucked tight against the vertical surface.
- Seal all laps, joints, and fasteners with the appropriate sealants and finishes per the flashing manufacturer.
Quality flashing installation is critical for both new roof construction as well as re-roofing projects on existing homes. At Top Builder Roofing, we are meticulous about every detail to ensure your new roof system is perfectly watertight and will protect your home for decades.
Why Trust Top Builder Roofing For Roof flashing?
Top Builder Roofing has built a reputation for honesty, quality workmanship, and outstanding customer service. Our experienced team is highly trained in all aspects of residential roofing, including expert flashing installation using only premium materials. Give us a call today at (407) 881-4600 or visit our website to schedule your free roof inspection and estimate. We’ll thoroughly evaluate your existing roof, provide an honest assessment of its condition, and give you our expert recommendations. Experience the Top Builder difference for yourself!


